Quickstart Guide
Summary
- Install Kubeflow by following Getting Started - Installing Kubeflow.
- Open the Kubeflow Central Dashboard in your browser.
- Click “Notebooks” in the left-hand panel.
- Click “New Server” to create a new notebook server.
- Specify the configs for your notebook server.
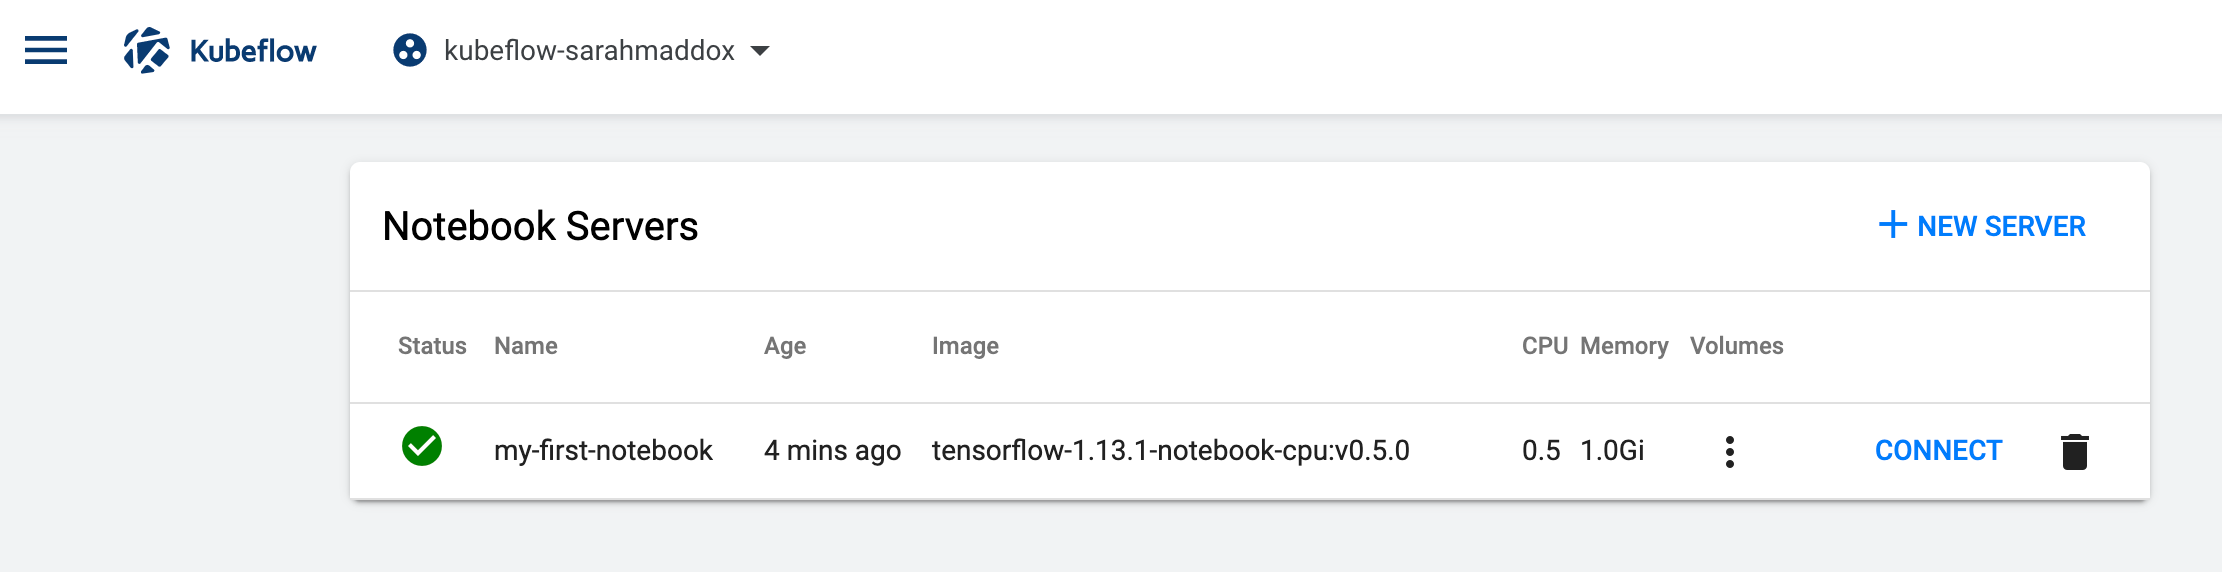
- Click “CONNECT” once the notebook has been provisioned
Detailed Steps
Open the Kubeflow Central Dashboard in your browser.
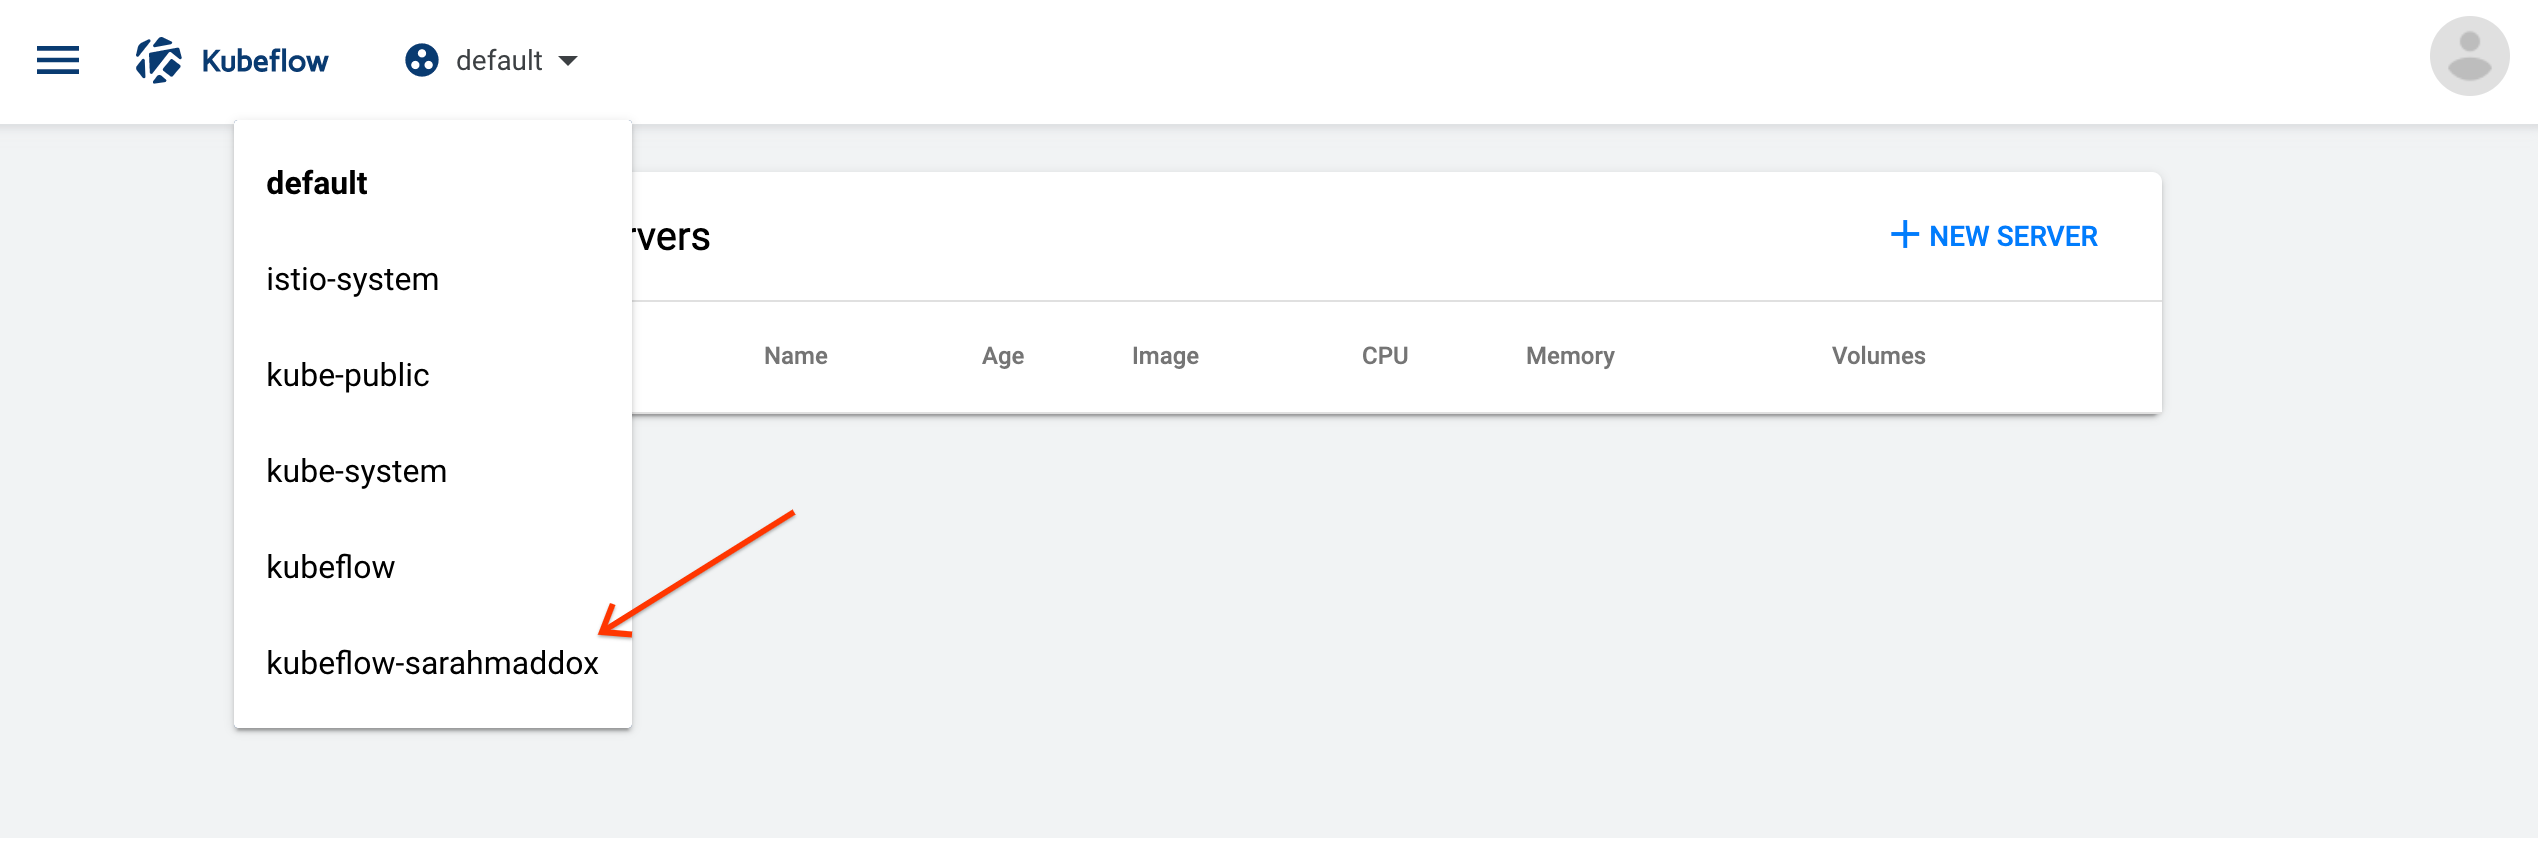
Select a Namespace:
- Click the namespace dropdown to see the list of available namespaces.
- Choose the namespace that corresponds to your Kubeflow Profile. (See the page on profiles and namespaces for more information)
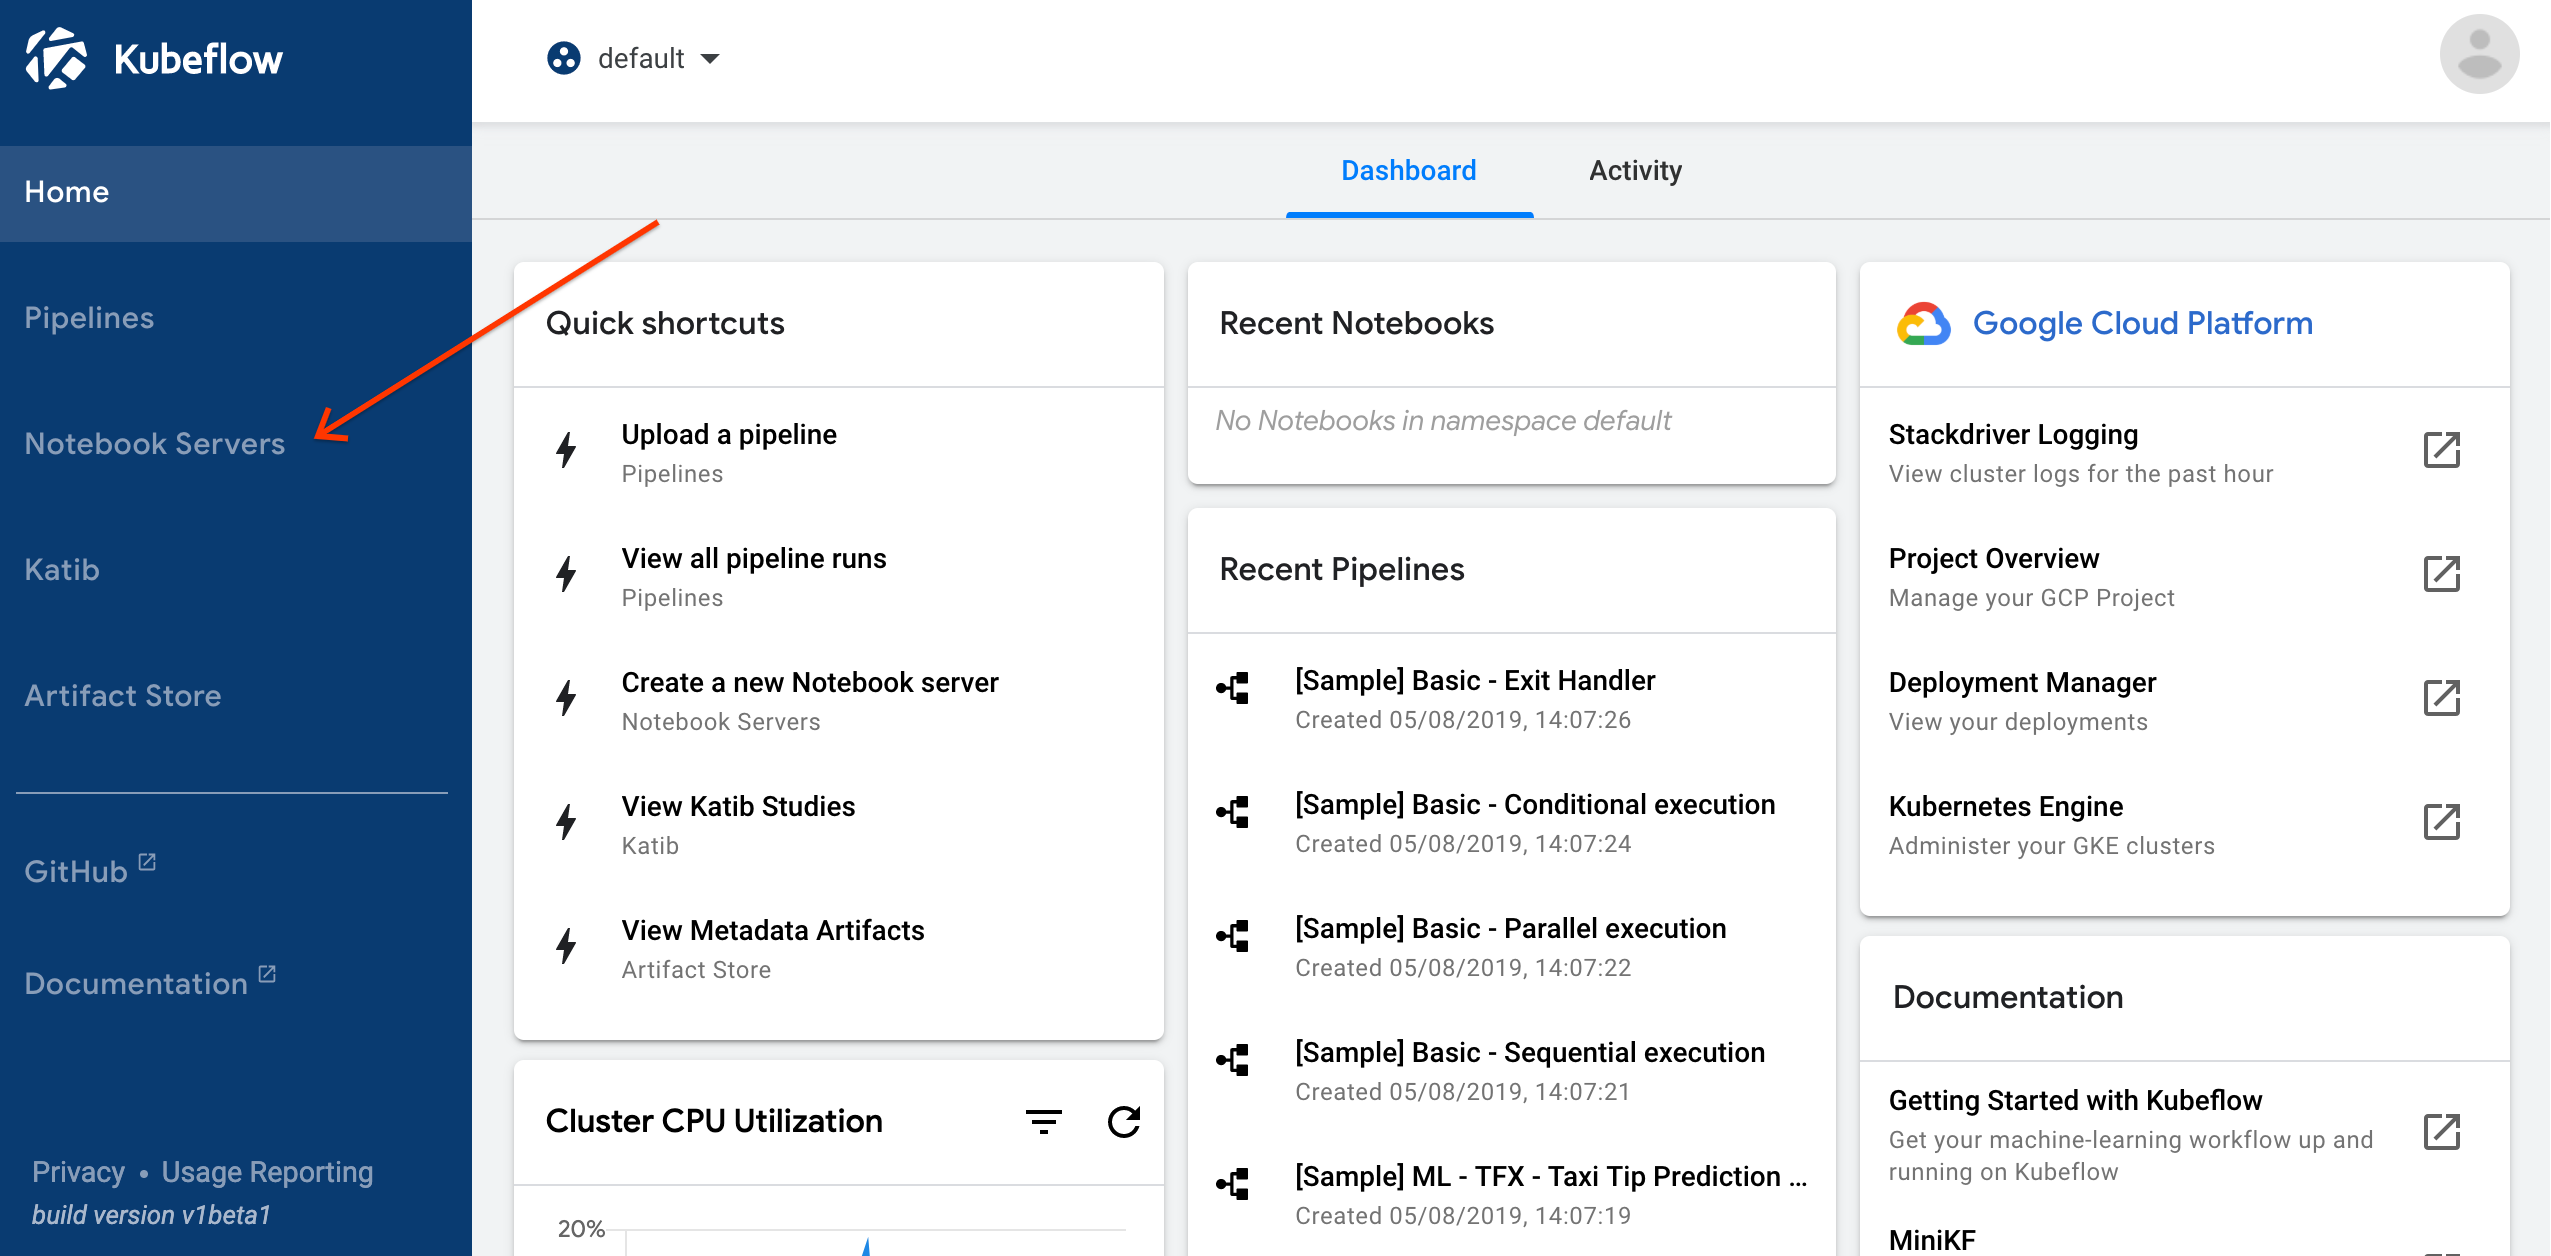
Click “Notebook Servers” in the left-hand panel:
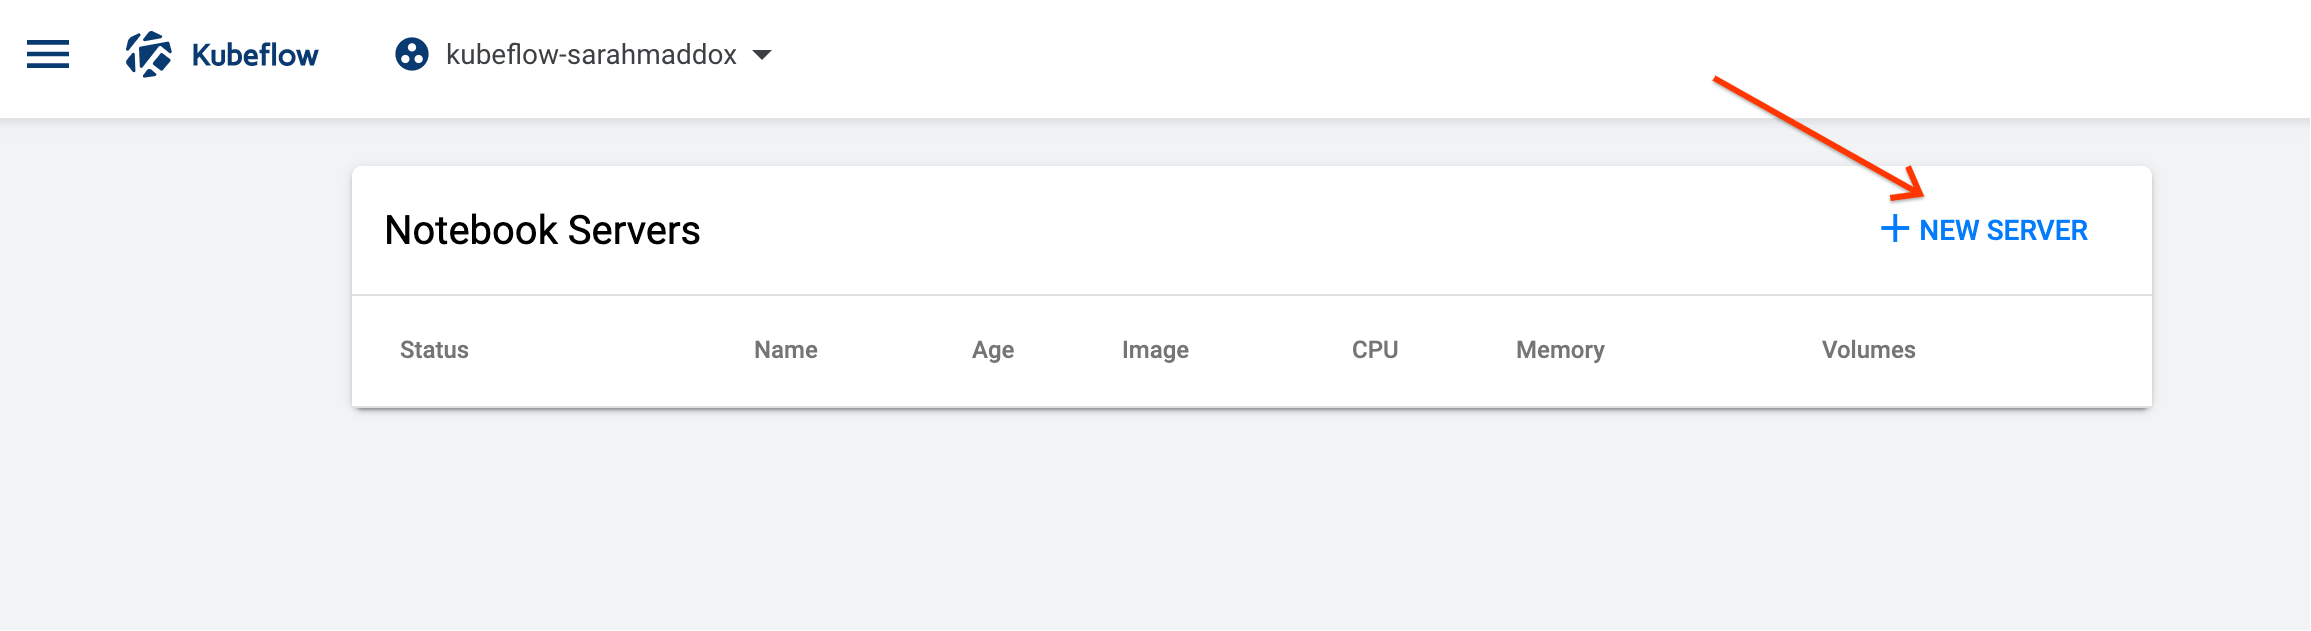
Click “New Server” on the “Notebook Servers” page:
Enter a “Name” for your notebook server.
- The name can include letters and numbers, but no spaces.
- For example,
my-first-notebook.
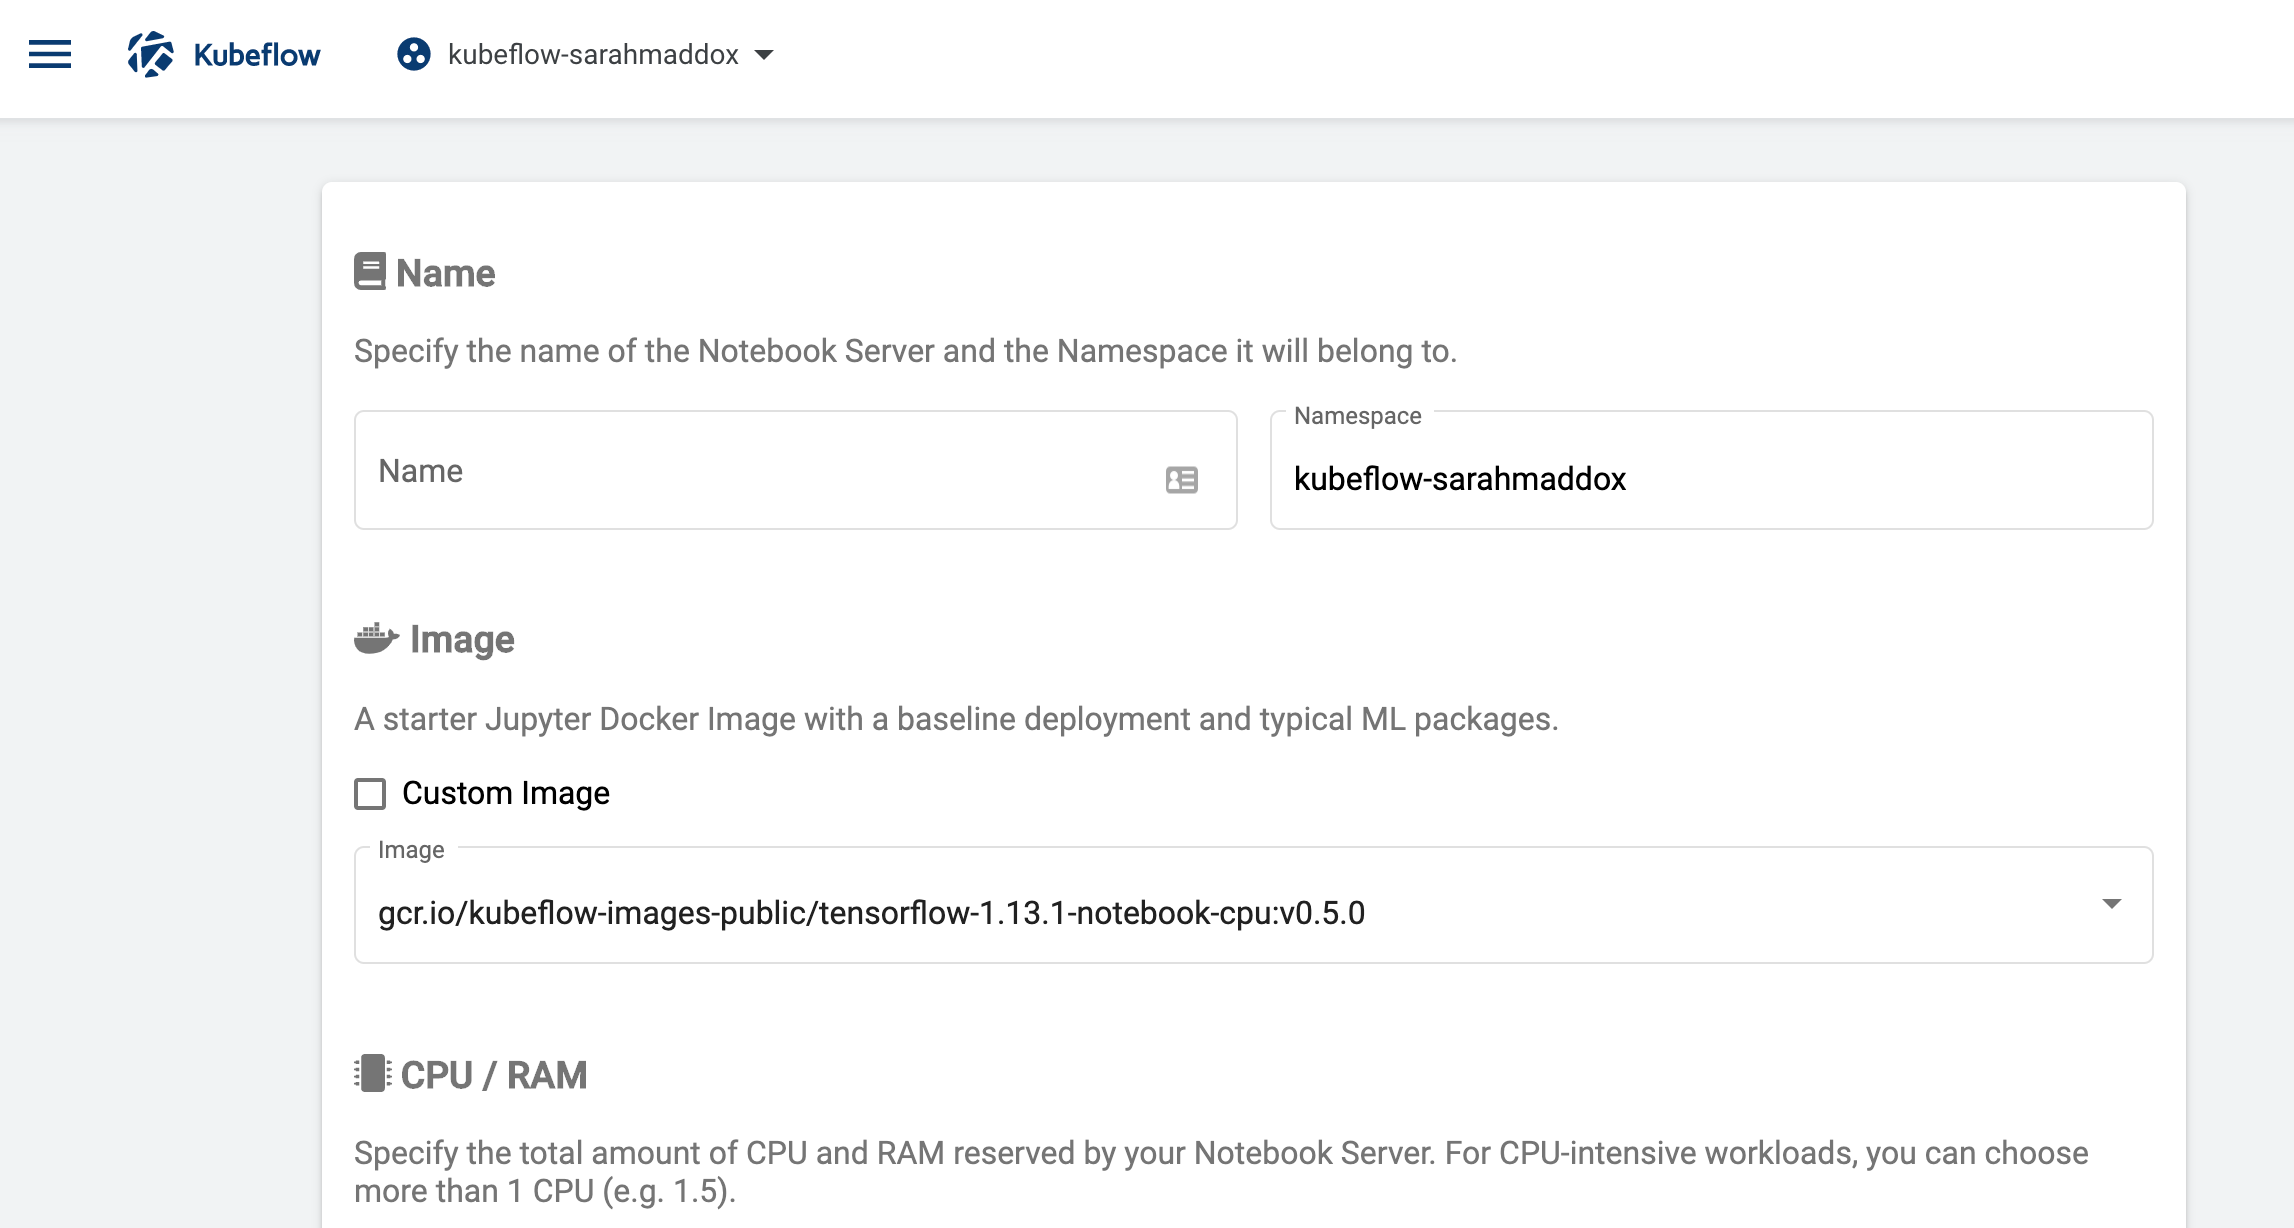
Select a Docker “Image” for your notebook server
- Custom image: If you select the custom option, you must specify a Docker image in the form
registry/image:tag. (See the guide on container images.) - Standard image: Click the “Image” dropdown menu to see the list of available images. (You can choose from the list configured by your Kubeflow administrator)
- Custom image: If you select the custom option, you must specify a Docker image in the form
Specify the amount of “CPU” that your notebook server will request.
Specify the amount of “RAM” that your notebook server will request.
Specify a “workspace volume” to be mounted as a PVC Volume on your home folder.
(Optional) Specify one or more “data volumes” to be mounted as a PVC Volumes.
(Optional) Specify one or more additional “configurations”
- These correspond to PodDefault resources which exist in your profile namespace.
- Kubeflow matches the labels in the “configurations” field against the properties specified in the PodDefault manifest.
- For example, select the label
add-gcp-secretin the “configurations” field to match to a PodDefault manifest containing the following configuration:
apiVersion: kubeflow.org/v1alpha1
kind: PodDefault
metadata:
  name: add-gcp-secret
  namespace: MY_PROFILE_NAMESPACE
spec:
 selector:
  matchLabels:
    add-gcp-secret: "true"
 desc: "add gcp credential"
 volumeMounts:
 - name: secret-volume
   mountPath: /secret/gcp
 volumes:
 - name: secret-volume
   secret:
    secretName: gcp-secret
(Optional) Specify any “GPUs” that your notebook server will request.
- Kubeflow uses “limits” in Pod requests to provision GPUs onto the notebook Pods (Details about scheduling GPUs can be found in the Kubernetes Documentation.)
(Optional) Specify the setting for “enable shared memory”.
- Some libraries like PyTorch use shared memory for multiprocessing.
- Currently, there is no implementation in Kubernetes to activate shared memory.
- As a workaround, Kubeflow mounts an empty directory volume at
/dev/shm.
Click “LAUNCH” to create a new Notebook CRD with your specified settings.
- You should see an entry for your new notebook server on the “Notebook Servers” page
- There should be a spinning indicator in the “Status” column.
- It can take a few minutes for kubernetes to provision the notebook server pod.
- You can check the status of your Pod by hovering your mouse cursor over the icon in the “Status” column.
Click “CONNECT” to view the web interface exposed by your notebook server.
Next steps
- Learn how to create your own container images.
- Review examples of using jupyter and tensorflow.
- Visit the troubleshooting guide to fix common errors.
Feedback
Was this page helpful?
Thank you for your feedback!
We're sorry this page wasn't helpful. If you have a moment, please share your feedback so we can improve.